What the Media & Text card does
The Media & Text card is a canvas for arranging text, images, icons and video within an edauthor session. You can place several elements together, move and resize them, format the text and control which elements sit in front of others. Use it to introduce a case, explain a task or give a seminar a shared point of reference. Follow it with a response card when you want learners to submit their thinking.
This guide shows how to make a visual briefing and use it in a university seminar. The same approach works for teachers, trainers and workshop facilitators preparing a shared task.
Choose the right starting point
Choose Media & Text when the arrangement is part of your explanation: perhaps a source on the left, a question on the right and a short instruction beneath it. You build the layout directly in edauthor, and the text elements remain editable.
For a single image or clip with a prompt, the Picture / Video card offers a simpler starting point. To bring in pages from an existing slide deck, use the Presentation Slide card. Media & Text is useful when you want to compose the material yourself rather than import a finished page.
Start with the learning task. Decide what learners need to see, what you want them to notice and what they should do next. Leave out material that does not support those decisions.
Build your first Media & Text card
- Open your Activity Cards in the editor. Select Add Activity, then Media & Text. The new card starts with an editable text element.
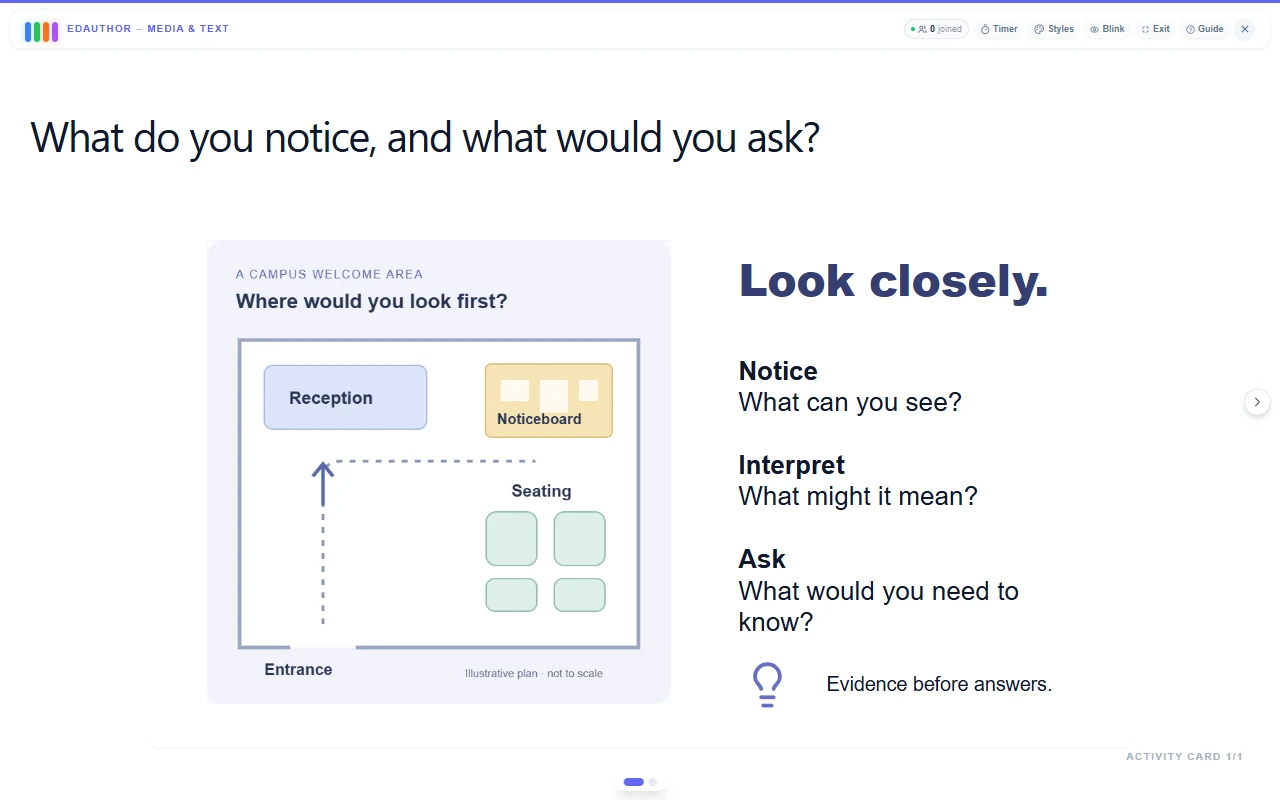
- Set the context. Add a card title and a Question / Prompt, such as “What do you notice, and what would you ask?” Keep the prompt short enough to read on a participant’s phone.
- Edit the starting text. Select the text on the canvas and replace “Add your text”. Use Text to add more text boxes when you need separate sections.
- Add the visual. Select Image, then Upload new or Media library. Once an image is present, Replace image lets you change it. The image picker accepts uploads up to 20 MB; its guidance recommends images under 5 MB for performance.
- Arrange the elements. Select an element and drag it into position. Use its Resize handle to change the frame. When editing text, drag the surrounding Move element handles to reposition the box without selecting its words.
- Check and save the sequence. Preview the card, check the participant view and add the response activity that will follow it. Explain when learners should read, discuss and submit.
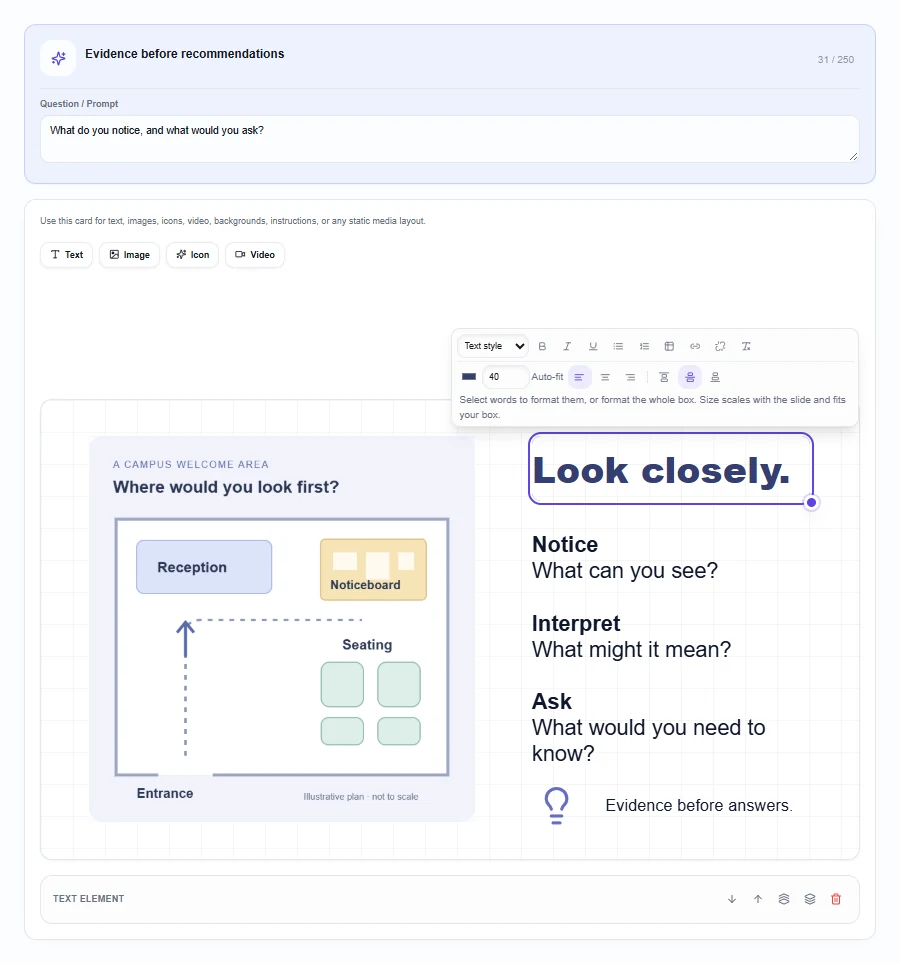
The canvas keeps a 16:9 layout. Elements retain their relative positions when the card is shown at a different size. This gives you control over the composition, but a dense layout will become difficult to read on a small screen. Use a few substantial elements rather than many tiny boxes.
Make the text easy to follow
Select a text element to open Text formatting. You can choose Paragraph, Heading or Subheading from Text style, and use bold, italic, underline, bulleted or numbered lists. Insert table adds a small table; Add link and Remove link manage links. For a link, provide Link text and Link address. Prefer descriptive link text to a long address.
Use Text colour, Font size, horizontal alignment and vertical alignment to establish a clear reading order. Select particular words to format them, or apply formatting to the whole box. Clear formatting helps when pasted material brings unwanted styling.
Auto-fit adjusts text to its box as the layout changes size. It is useful for keeping content within the frame, but it cannot make a long paragraph readable in a tiny space. Enlarge the box, shorten the wording or split the material across cards. Check the final result on a phone as well as the host screen.
Write directions where learners can read them. For example: “Think quietly first. Discuss with a partner. Submit on the next activity.” Text on this canvas is shared content, so do not use it for private presenter notes.
Use images, backgrounds, icons and video
Selecting an image opens its settings below the canvas. Use the controls to make the relationship between your visual and your text clear.
| Control | What it does | Useful when |
|---|---|---|
| Fit whole image | Keeps the complete image within its frame | The edges, labels or full composition matter |
| Fill and crop | Fills the frame and may crop the edges | You want to focus attention on part of an image |
| Horizontal position, Vertical position and Crop zoom | Adjust the crop; changing zoom switches to a cropped view | A detail needs a more deliberate framing |
| Reset crop | Returns to a centred crop at 100% zoom | You want to start framing again; select Fit whole image to restore the complete view |
| Opacity | Changes the image’s transparency | An image needs to sit more quietly in the layout |
| Use image as background | Fills the canvas with the selected image behind other elements | You want text over a visual setting |
Remove background image returns that image to an ordinary frame; it does not delete it. None, Light dim, Dark dim and Strength control the image overlay. Check text contrast after changing the background, and avoid placing essential words over a busy detail.
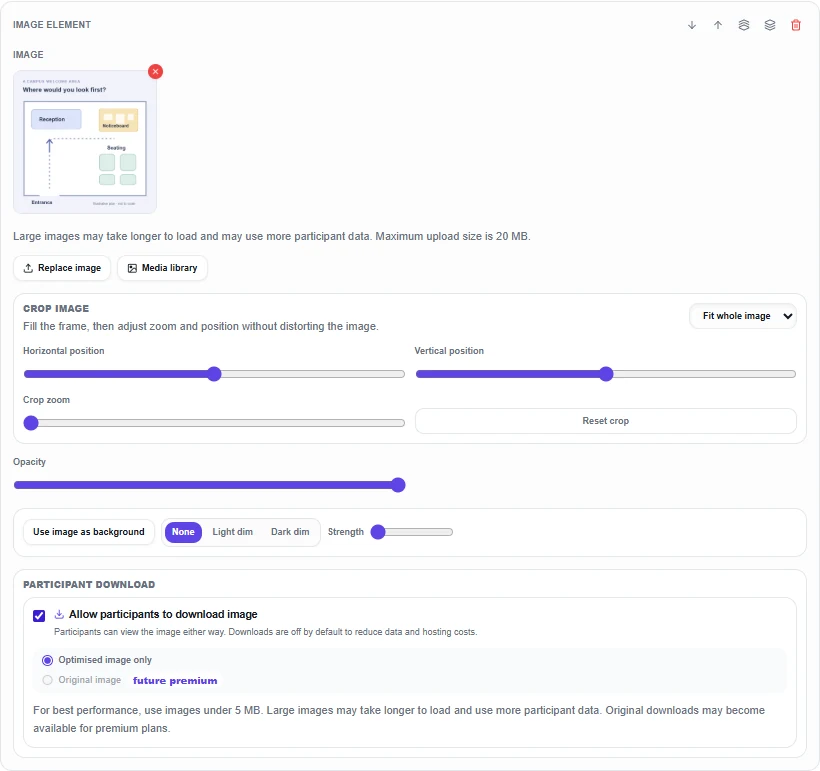
If elements overlap, use Move backward, Move forward, Send to back or Bring to front. These change the stacking order. Delete element removes the selected element from the card.
Select Icon to add one of the available symbols, including Idea, Target, People, Book, Message and Star. You can change its Colour, size and position. Use icons to support a label, rather than asking learners to infer an instruction from the symbol alone.
Select Video and enter a Video link for a supported YouTube, Vimeo or direct video-file URL. Use an HTTPS link and check that it plays in the session before teaching. Viewers control their own playback; starting a clip on the host screen does not synchronise everyone’s player. Give a clear instruction about which part to watch, and provide a written summary of any essential spoken information.
What participants see
Participants see the active card’s title, prompt and arranged canvas. They can read its text, follow links and play supported video. Images can be opened in a larger viewer. The participant view uses its own text colours, so do not rely on an exact host colour scheme to convey meaning.
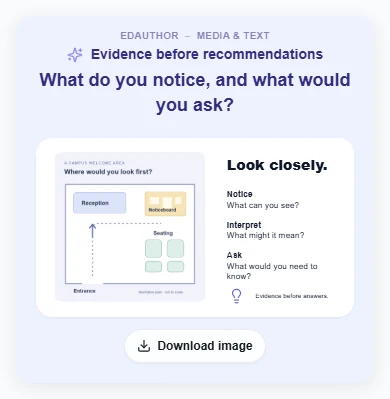
Image viewing and downloading are separate. For an image you want participants to keep, select it in the editor and enable Allow participants to download image under Participant download. Downloads are off by default. The supported setting is Optimised image only; Original image is currently unavailable. This permission applies to the selected image, not to exporting the entire composed card.
Learners do not type a response on Media & Text. Say explicitly whether the next step is silent thinking, spoken discussion or an answer on the following card. A visible canvas does not tell you whether everyone has understood it.
Try a 15-minute observation and interpretation activity
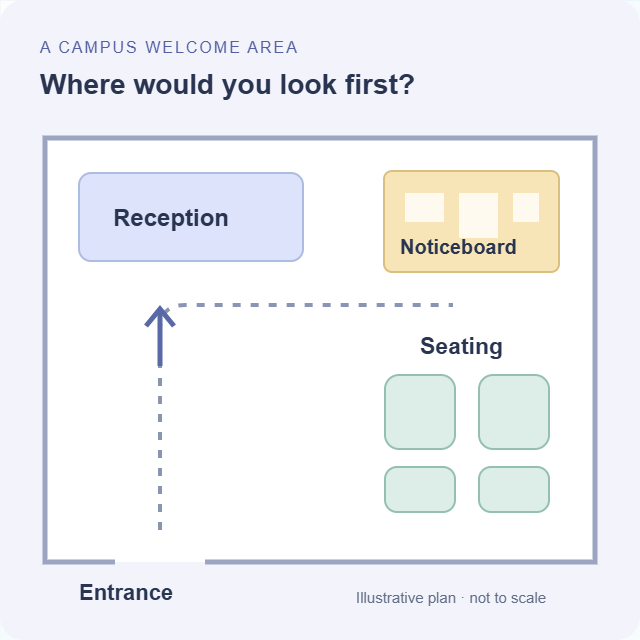
This is a suggested seminar activity. A campus team is considering how to make a welcome area easier to navigate. Learners examine an illustrative plan, distinguish what they can see from what they are assuming, and propose a question to investigate before recommending a change.
Download the example welcome-area image and add it to an Image element. It is a teaching diagram, not a plan of a real building. Put these three prompts beside it using Text elements:
- Notice: What can you see?
- Interpret: What might it mean?
- Ask: What would you need to know?
Use the card’s Question / Prompt for: “What do you notice, and what would you ask?” Follow this card with Thought Bubble. This version uses spoken pair discussion and individual submissions, so it does not require grouping controls.
| Stage | Time | Facilitator action | Card or tool |
|---|---|---|---|
| Introduce the task | 2 minutes | Explain the scenario and the difference between an observation and an interpretation | Media & Text |
| Look independently | 3 minutes | Ask everyone to identify one visible detail and one question it raises | Media & Text |
| Compare interpretations | 4 minutes | Ask pairs which claims the diagram supports and which need more evidence | Spoken discussion |
| Propose an enquiry | 4 minutes | Ask each participant to submit a question and explain why its answer would matter | Thought Bubble |
| Bring ideas together | 2 minutes | Read contrasting questions and discuss what further information would help | Thought Bubble results |
For the pair discussion, ask:
Which part of your interpretation comes from the plan, and which part is an assumption?
For Thought Bubble, ask:
What would you ask people who use this space before recommending a change, and why?
For example, “The noticeboard is beside reception” is visible in the diagram. Whether visitors notice it, understand it or need information elsewhere requires further evidence. Invite more than one interpretation, and check response counts before treating the submissions as a view shared by the room. This exercise does not establish findings about real campus users.
Adapt it to your subject
Introduce a case. Put a short scenario beside an image, then use Multiple Choice to collect an initial decision. Return to the briefing when discussing the reasons behind different choices.
Compare a source and an interpretation. Place an extract beside an explanatory diagram. Ask which part of the source supports a claim, then collect reasons with Thought Bubble.
Brief a practical task. Combine a process image with a short numbered list. Ask learners to explain the sequence to a partner before starting. Use the group learning guide if you want to organise groups and examine later responses by group.
Set up a clip discussion. Place a video beside one viewing question. Give thinking time after the clip before asking for individual contributions on the next activity.
Questions lecturers often ask
Can I use several images or text boxes?
Yes. Use Text, Image, Icon and Video to add separate elements, then position and resize them on the canvas. Keep the layout readable rather than trying to fill every available space.
Can participants edit the layout or submit answers on it?
The layout is authored by the host. Participants view the material and use supported image, link or video controls. Add a separate response card to collect answers in edauthor.
Does a background image have to stay behind everything?
Use image as background puts the selected image behind the other elements and fills the canvas. Layer controls let you change the stacking order. Remove background image returns it to an ordinary image frame.
Can participants download the whole card?
The Participant download setting described here gives permission to download an individual image. It is off by default and does not turn the composed canvas into a downloadable slide.
Create the briefing, then invite a response
Bring together only what learners need. Make the task clear, allow time to explore the material and follow with an activity that makes their thinking available for discussion.
Explore the Activity Card manual for the cards you can connect to your briefing.